Welcome to the Totally Techniques Blog Hop: Watercolor Wash Tutorial
Hello, crafters! My name is Lynsay Mahon, and I’m so excited to share this post as part of the Totally Techniques Blog Hop. I’m joining fellow creators to showcase fun and inspiring projects each month, focusing on specific crafting techniques. This month, we’re diving into one of my favorite techniques: the Watercolor Wash. If you love creating stunning backgrounds, then this technique will quickly become your go-to!
As a craft enthusiast from Edmonton, Alberta, Canada, I find that using watercolors to create soft, flowing backgrounds adds an effortless elegance to any project. Whether you’re a card maker, scrapbooker, or DIY enthusiast, learning how to master the watercolor wash technique will give your creations a professional touch.
The Watercolor Wash technique is incredibly versatile and easy to master. It’s perfect for adding depth and dimension to your projects, from handmade cards to art journaling pages. The fluid blending of colors creates beautiful, soft transitions that make any project look unique and vibrant. Plus, it’s the perfect way to showcase your Stampin' Up! products.
In this tutorial, I’ll guide you step-by-step on how to create your own watercolor wash background. Let’s get started!
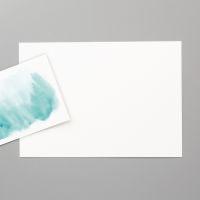
Best Paper for Watercolor Wash: Stampin' Up! Fluid 100 Watercolor Paper
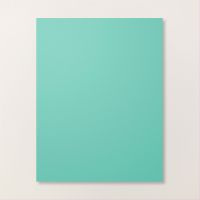
When it comes to watercoloring, using the right paper is crucial for getting the best results. For the Watercolor Wash technique, I highly recommend Stampin' Up! Fluid 100 Watercolor Paper. This high-quality paper is made from cotton, making it extra thick and absorbent. Its special texture allows the watercolor to blend seamlessly, giving your backgrounds a smooth, even look every time.
Step-by-Step Guide to Creating a Watercolor Wash Background
Now, let’s dive into the process! Here’s how you can create a beautiful watercolor wash background using Stampin' Up! Fluid 100 Watercolor Paper and your favorite Stampin' Up! ink refills.
- Prep Your Workspace: Start by gathering your supplies:
- Stampin' Up! Fluid 100 Watercolor Paper
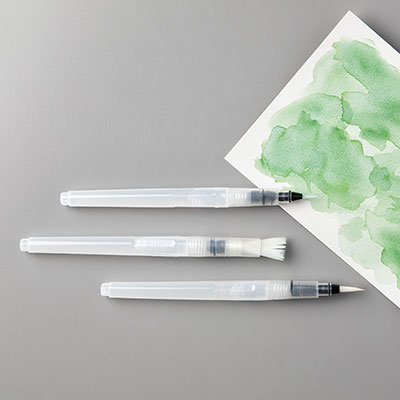
- Water Painter or a large brush
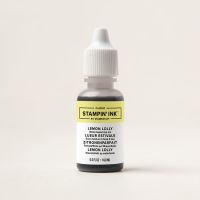
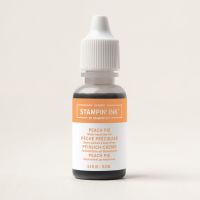
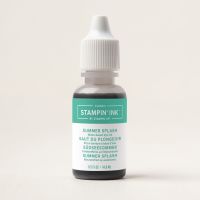
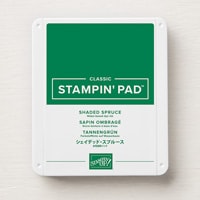
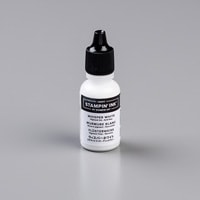
- Stampin' Up! Ink Refill (choose your favorite colors!)
- Water and a paper towel
- Apply Water to the Paper: Using your Water Painter or brush, gently apply water over the watercolor paper. You don’t need to saturate it completely, just a light, even layer of water will do.
- Add the Ink Color: While the paper is still wet, dip your Water Painter into an Ink Refill and gently apply it to the wet areas of the paper. The ink will blend and flow with the water, creating a soft, wash-like effect.
- Blend and Layer: If you want to add more depth or create different shades, continue layering the ink and water. The colors will merge beautifully, giving your background a painterly look.
- Allow to Dry: Once you’re happy with the result, let your watercolor wash background dry completely. You can speed up the drying process by using a heat tool or leaving it to air dry.
Tips for a Perfect Watercolor Wash
- Experiment with Colors: Don’t be afraid to mix and match colors! Soft pastels or bold hues can each create a unique feel. Try combining two or three colors to create a gradient effect.
- Control the Intensity: The more water you add, the softer and more diluted the colors will be. For more intense color, use less water and more ink.
- Use Masking Techniques: For added texture or to protect areas of your paper, try using masking fluid or painter’s tape to block off sections of the paper.
Why You’ll Love Watercolor Wash
The beauty of the Watercolor Wash technique lies in its simplicity and flexibility. Whether you’re crafting a handmade card, scrapbook layout, or simply experimenting with color, this technique will elevate your project in no time. The watercolor wash provides a stunning backdrop that complements any stamps, die cuts, or embellishments you choose to add on top.
Join the Totally Techniques Blog Hop!
I hope this tutorial inspires you to try the Watercolor Wash technique on your next project! Be sure to check out the other posts in the Totally Techniques Blog Hop for more creative ideas.
Don’t forget to leave a comment below if you have any questions or tips to share. And if you love this post, please subscribe to the blog for more monthly projects and technique tutorials!
Have fun crafting!
Product List
