
Faux Tile | Totally Techniques
This easy technique is a great way to create background texture to a project! Learn how to incorporate a “Faux Tile” technique into your next card.
Hello my crafty friends! I'm Lynsay Mahon. I love a simple technique that adds a big “wow” to your backgrounds!

Welcome to this month's Totally Techniques Blog Hop. Each month, our team shares hand-picked techniques and projects to help you make your next paper-crafted project. Each of our designers shares a handmade creation featuring the technique, along with ideas to inspire you! Today, we're diving deep into a technique that is simple and effective: Faux Tile.
When You Want Easy Texture to Your Project…
If you’ve ever been crafting and wanted to add an easy textural layer, then you’re going to want to check out today’s Blog Hop! Faux Tile is a done with a few simple tools and one layer of cardstock, making it easy, and fun to experiment with.
Here’s what you need to make create the Faux Tile Background:
Simply Scored Tool or the Scoring Blade on your Paper Trimmer
A bold stamp
Classic Ink (I chose our three new colours from the Harvest & Holly Premium Stampin’ Spot Assortment)
This is a technique you can try with supplies you have in your craft collection.
Step-by-Step Instructions for the Faux Tile Technique:
Use your scoring tool to create a grid. On this card I did 1” lines on both the horizontal and perpendicular sides of the Basic White Cardstock.
Ink your background stamp with Classic Ink. I used the Stampin’ Spots to add three colours to give the look of fall leaves.
Stamp the image over top of the Basic White Cardstock with the lines. This will reveal the “faux” grout lines to give the look of tiles.
Multiple stamps will work for this technique! Change it up to get different occasion themed cards.
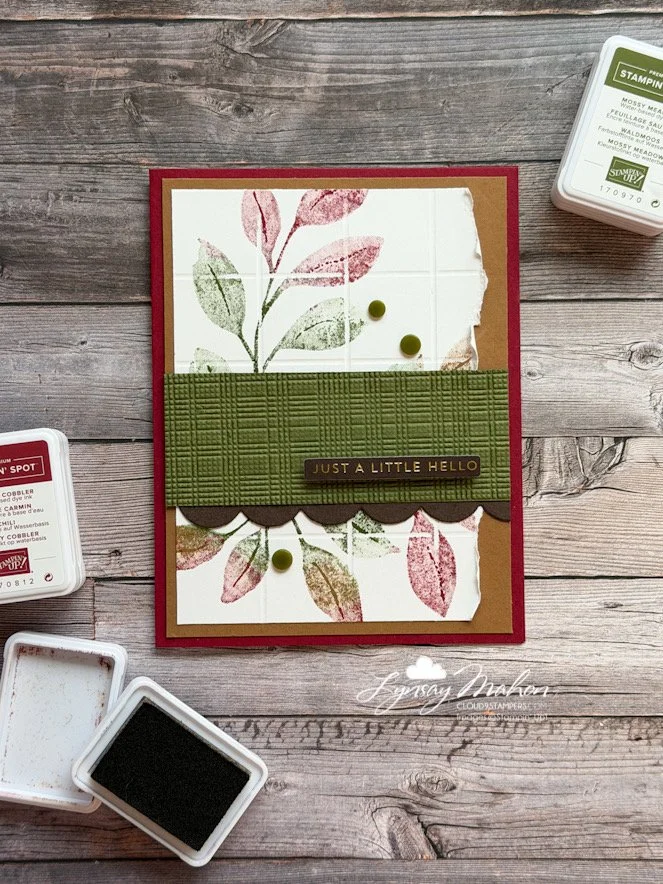
The faux grout lines show best on a Basic White or Very Vanilla Cardstock.
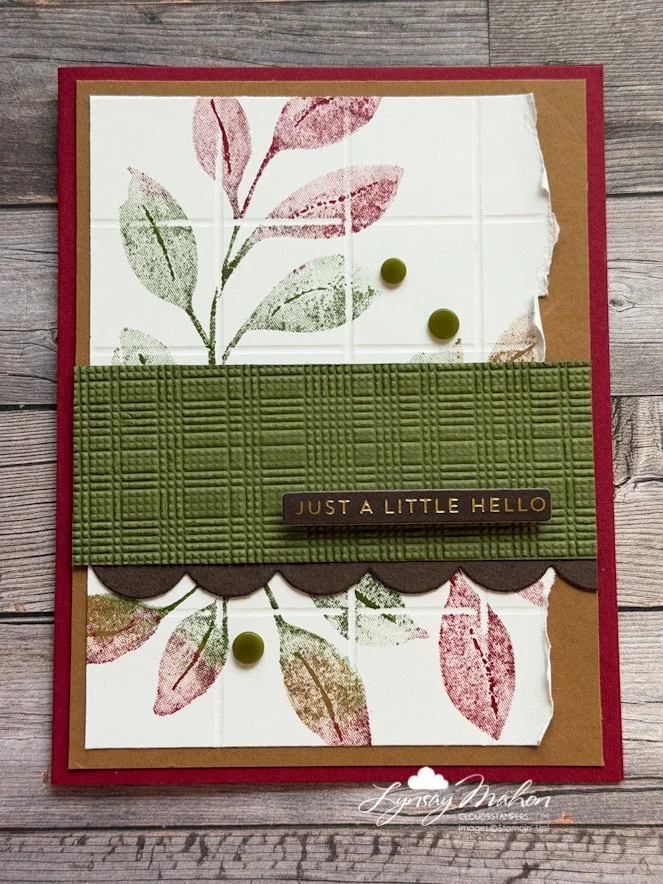
Add a little texture in your details to really make the card a “wow” card.
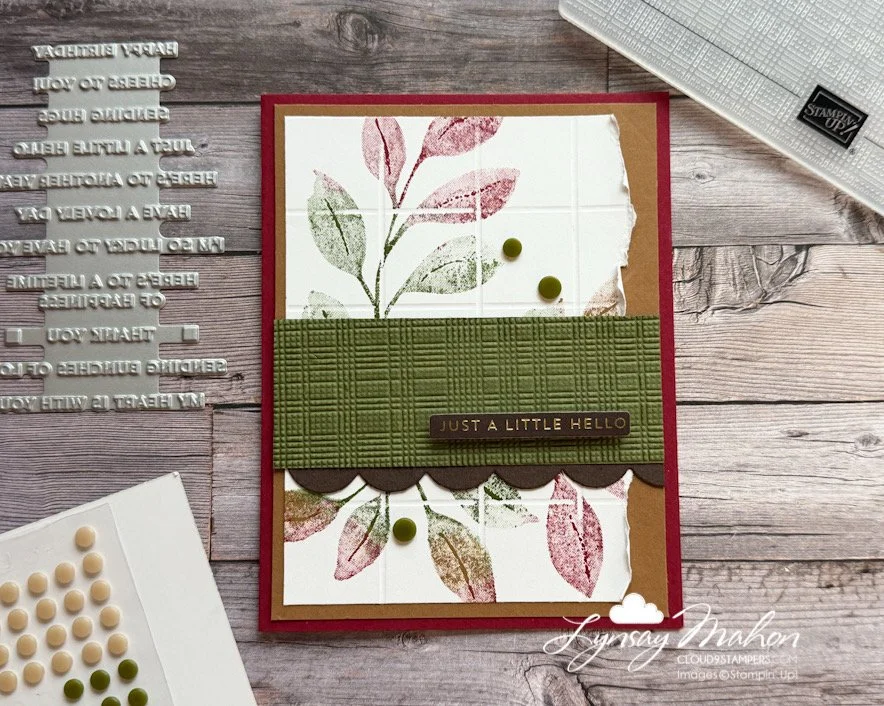
Be sure to hop along with the rest of the Totally Techniques Blog Hop team and see what the crew designed!
Have you tried Stampin’ Up!’s new Hot Foil System yet? Drop a comment below and share your experience with this incredible new tool.
Warmly,
Lynsay
![Simply Scored [ 122334 ]](https://assets1.tamsnetwork.com/images/EC042017NF/122334s.jpg "Simply Scored [ 122334 ]") | ![Stampin' Positioner [ 167768 ]](https://assets1.tamsnetwork.com/images/EC042017NF/167768s.jpg "Stampin' Positioner [ 167768 ]") | ||
![Pecan Pie 8 1/2" X 11" Cardstock [ 161717 ]](https://assets1.tamsnetwork.com/images/EC042017NF/161717s.jpg "Pecan Pie 8 1/2\" X 11\" Cardstock [ 161717 ]") | ![Basic White 8 1/2" X 11" Cardstock [ 166780 ]](https://assets1.tamsnetwork.com/images/EC042017NF/166780s.jpg "Basic White 8 1/2\" X 11\" Cardstock [ 166780 ]") | ||
![Softly Woven 3 D Embossing Folder [ 168466 ]](https://assets1.tamsnetwork.com/images/EC042017NF/168466s.jpg "Softly Woven 3 D Embossing Folder [ 168466 ]") |
![Botanical Glow Photopolymer Stamp Set [ 170054 ]](https://assets1.tamsnetwork.com/images/EC042017NF/170054s.jpg "Botanical Glow Photopolymer Stamp Set [ 170054 ]")
![Harvest & Holly Premium Stampin' Spot Assortment [ 170900 ]](https://assets1.tamsnetwork.com/images/EC042017NF/170900s.jpg "Harvest & Holly Premium Stampin' Spot Assortment [ 170900 ]")
![Mossy Meadow 8-1/2" X 11" Cardstock [ 133676 ]](https://assets1.tamsnetwork.com/images/EC042017NF/133676s.jpg "Mossy Meadow 8-1/2\" X 11\" Cardstock [ 133676 ]")
![Cherry Cobbler 8-1/2" X 11" Cardstock [ 119685 ]](https://assets1.tamsnetwork.com/images/EC042017NF/119685s.jpg "Cherry Cobbler 8-1/2\" X 11\" Cardstock [ 119685 ]")
October's Noel Greetings Paper Pumpkin Kit combines layered Christmas card designs, soft neutrals, traditional holiday colours, and lovely gold foil details. Here's a first look at what's coming.<br><br></br>
With this kit, you'll be able to make 10 cards: 5 each of 2 designs with 10 coordinating envelopes.<br><br></br>
Purchase between September 11, 2026 - October 10, 2026 Note: Supplies may be limited toward the end of the subscription period.<br><br></br>